Did you know that Apple now has about 1.8 billion active devices worldwide? That's a staggering increase of 300 million from its January 2020 count of 1.5 billion.
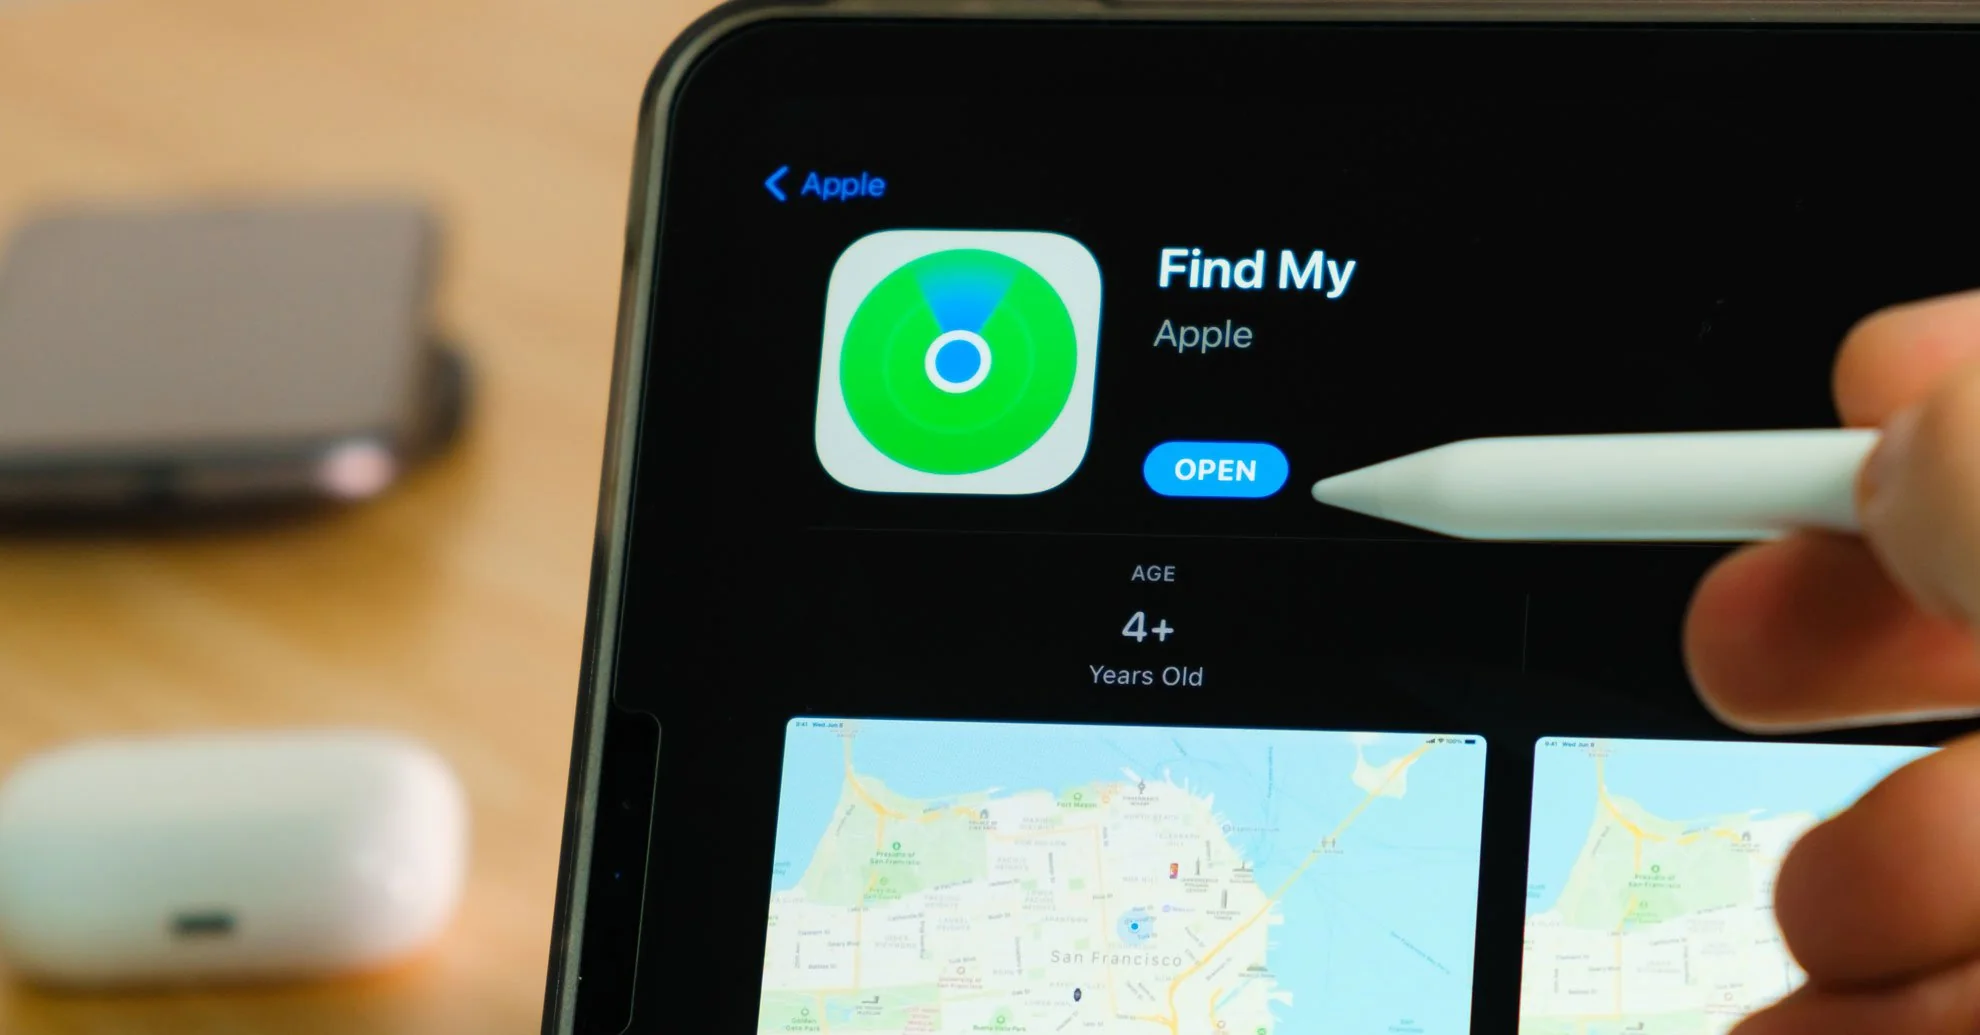
One reason for that increasing popularity is the ever-evolving Apple Find My network. Thanks to this technology, Apple users can locate a lost device, Apple-made or not. Moreover, it even lets them find family and friends!
So if you're a new owner of one of the millions of Macs or iPhone units sold this 2022, it's time you learn to use Find My. Don't worry, as we'll give you the lowdown on how to in this guide, so be sure to read on.
Enable the Apple Find My Network
Before using the Apple Find My network to locate a misplaced item, you must enable the feature first. Do this on all compatible devices, such as your iPhone, iPad, Mac, AirPods, or Apple Watch. You can also use it on other compatible trackers, such as the Pebblebee Card and Clip.

For iPhones or iPads
To activate the Find My service on your device, start by launching your iPhone or iPad Settings app first. Next, tap your Apple ID name and then select Find My.
On the next screen, you should see a field labeled Find My iPhone or Find My iPad. Tap that.
Toggle the switch on the field for Find My iPhone or Find My iPad. It should turn green, indicating you've enabled it.
Do the same on the field below that says Find My network. That should allow you to locate your missing device even if it goes offline or powers off.
For Macs
To enable the Find My Network on your Mac, select the Apple Menu button on the upper left-most corner of your screen. Then, choose System Preferences.
On the System Preferences window, click or tap Security & Privacy. Then, select the Privacy tab.
Under the Privacy tab, click or tap the lock icon on the lower left hand of the window. Then, enter your Mac password or use Touch ID to unlock it.
On the next window, highlight the Location Services option. You should then see the Enable Location Services field. Mark the checkbox beside it and the one next to the Find My selection.
After that, click or tap the lock again to prevent unwanted or unauthorized changes.
Next, go back to the System Preferences window and click or tap the Apple ID icon. On the left pane, select iCloud.
That should bring up a right pane with a list of iCloud services. Scroll down until you see the Find My Mac field; mark the checkbox beside it.
There should also be an Options button on the Find My Mac field. Click or tap that and then turn on both Find My Mac and Find My network. You can then click or tap Done to save the changes.
For AirPods
In the last quarter of 2021 alone, Apple sold 27 million pairs of its newest AirPods model.
If you're one of those lucky new owners, you most likely have paired it with your iPhone. If so, and you have your iPhone's Find My turned on, your AirPods' Find My should have automatically enabled. However, you may still need to manually activate the Find My network service.
To do that, launch your iPhone Settings menu and select Bluetooth. Choose More Info next to the AirPods. Next, scroll down the list until you see Find My network; tap that and ensure you set it to on.
For Apple Watches
Open the Settings page on your Apple Watch and choose your name. Next, scroll down the list until you get to your Apple Watch and once you see it, tap it. Next, select Find My Watch and make sure you turn on its Find My network option.
For Third-Party Products
Apple has only approved a few non-Apple products with Find My, such as Pebblebee Item trackers.
So if you want to add a third-party product to your Find My list, make sure they're compatible first. If so, follow your third-party product's instructions to start the connection process.
Next, launch the Find My app on your iOS device. Then, tap the Items option on the lower menu bar, followed by Add Item.
A set of onscreen steps should then appear. Follow them to add your third-party product to your Find My network and register it with your Apple ID.
How to Find Your Missing Device
To locate your phone or even a lost dog with a Find My-enabled tracker, open the Find My app on another iOS or macOS device.
However, the device you need to use should have your Apple ID signed in. Alternatively, you can use your Apple ID to sign in to iCloud's web platform on another device. You can also use someone else's iPhone, iPad, or Mac, but they must be part of your Family Sharing group.
Once you've opened the Find My app, maneuver to its Devices or Items tab. All Apple devices you've added to the Find My network should be under the Devices tab. On the other hand, compatible third-party products should be under the Items tab.
For example, let's say you want to find your misplaced iPhone using your Mac's Find My app.
In that case, click the Devices tab on your Mac's Find My app. Then, select your missing iPhone to see its location on the map. You can also play a sound if it's nearby so you can have an easier time finding it.
Find Missing Items With Ease
And there you have it, your ultimate guide on using the Apple Find My network. Now you know you only need to enable it on Apple devices or add compatible third-party products to its list. After that, you can use it to locate whatever you've lost, as long as it's in your Find My device list.
If you have several non-Apple items you want to keep track of, shop our trackers here at Pebblebee. They're compatible with Find My.


